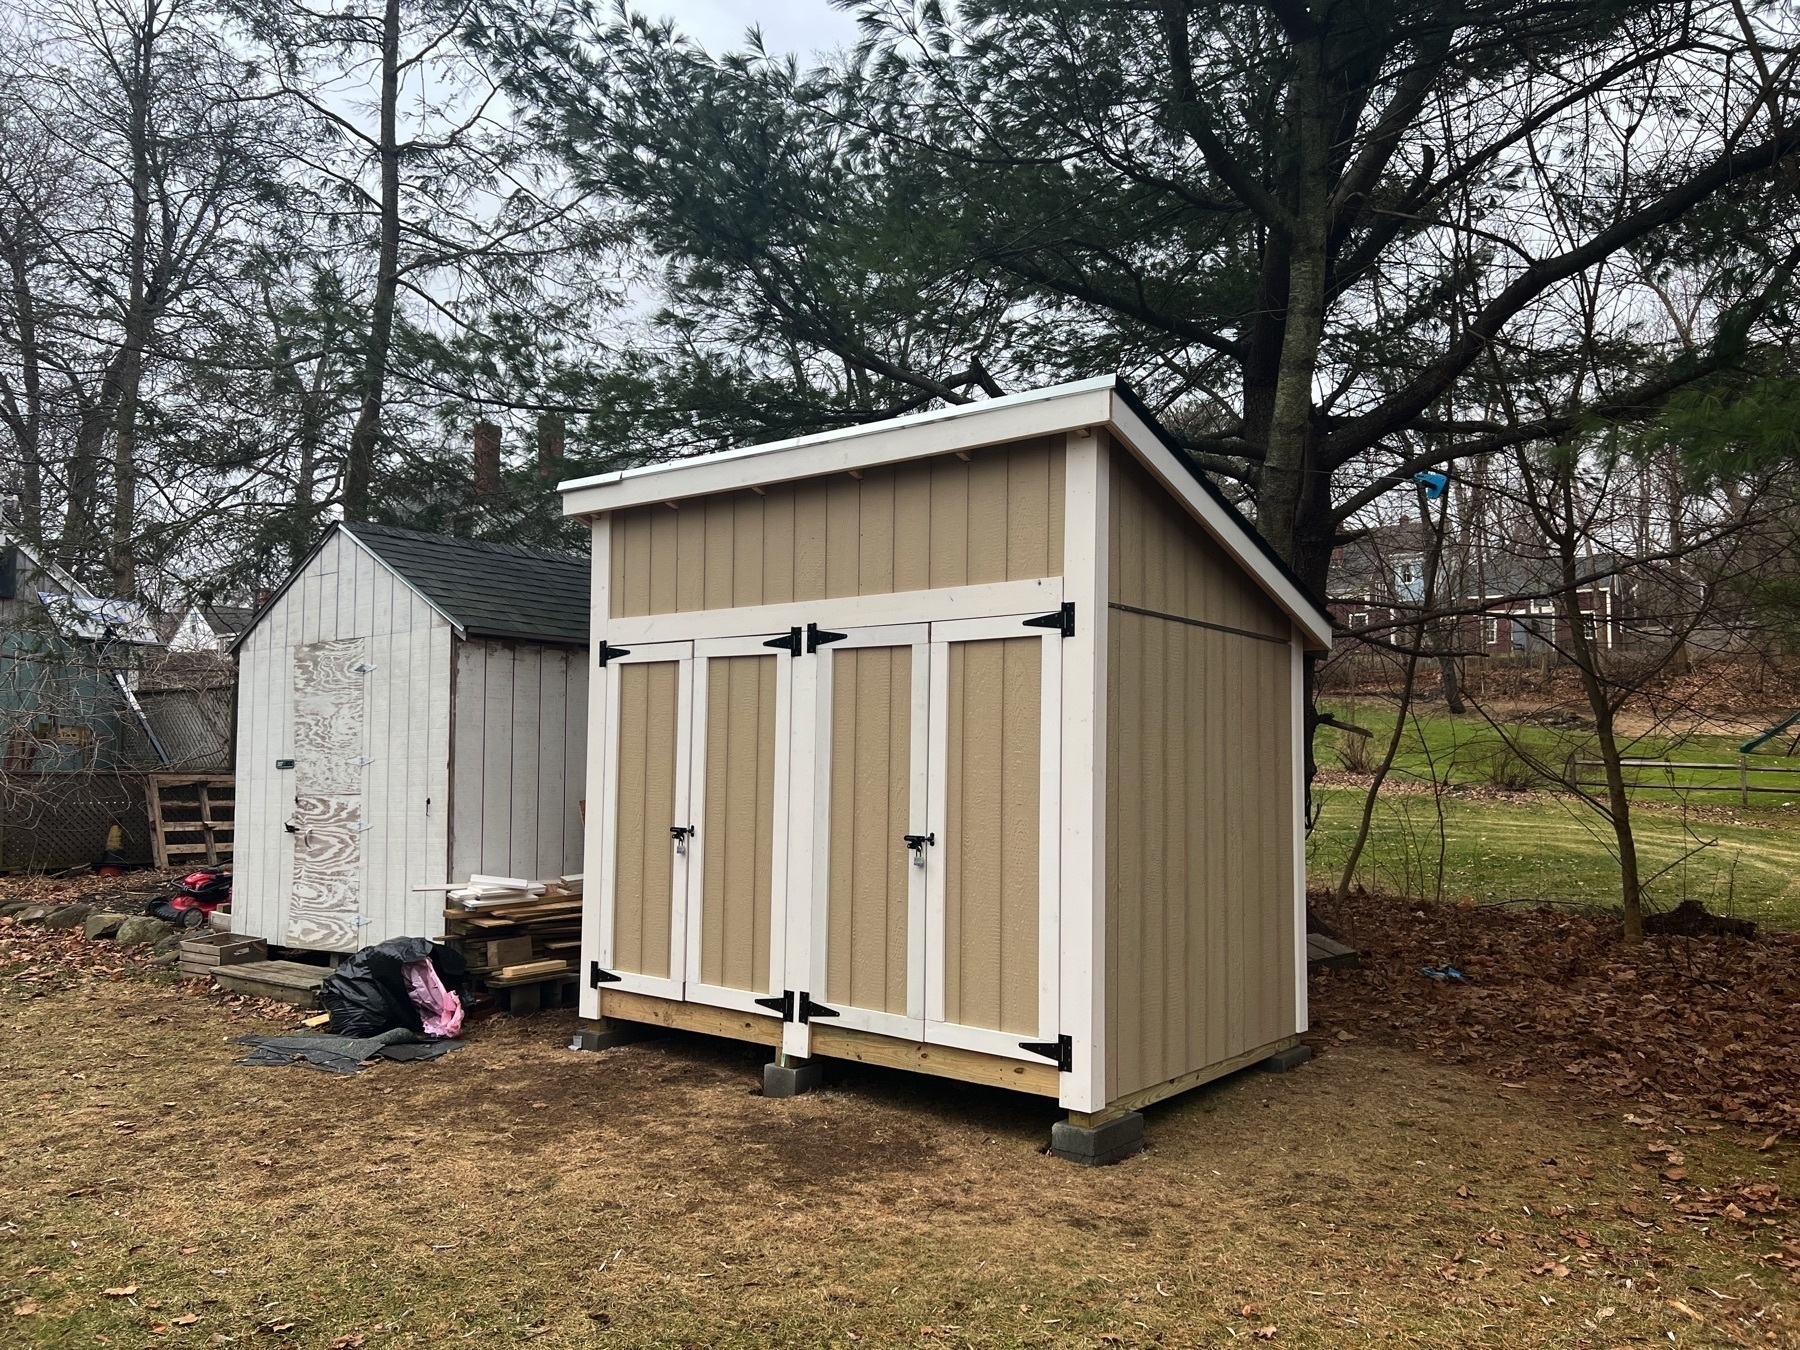
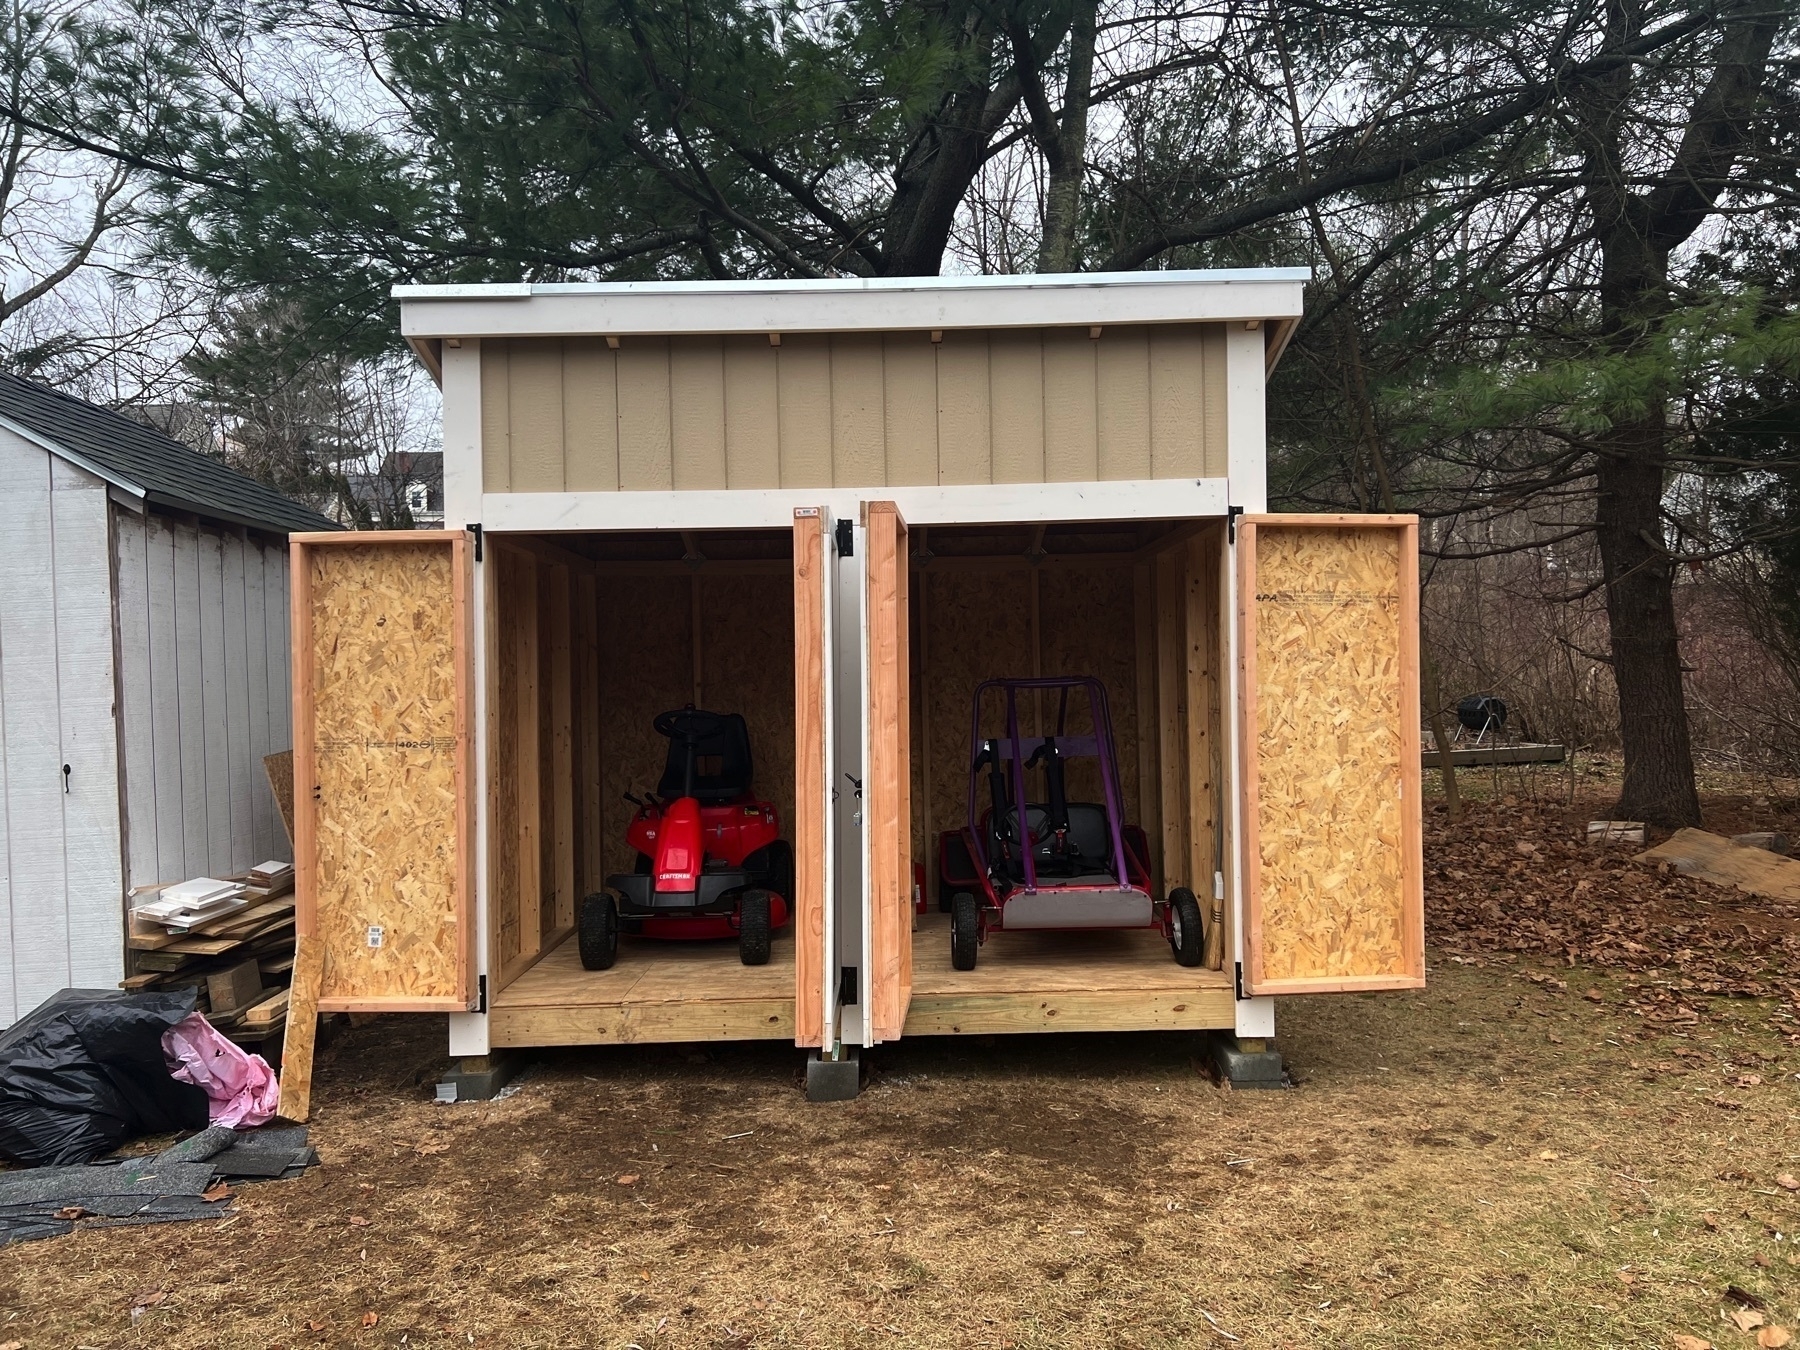
Building a Go Kart Garage
Over the summer, my son, Kaleb got a Go Kart and did a lot of work to get it back in working order. In September he mentioned how he didn’t want to keep it on the ground over the winter and wanted to build a platform to put it on. At the same time we were starting some home renovation projects with a contractor which allowed both of us to gain a little more experience and more importantly confidence. The first job involved installing insulation in our basement and other minor repairs during the process. The second job was more relevant and involved some major repairs on our shed. In both projects I learned some really basic stuff about how stuff is constructed and also the various types of materials needed for such a project.
We began to discuss the platform Kaleb wanted to build and now he was angling for us to create a garage for his Go Kart and also his lawn tractor he had been keeping in our shed. He used Fusion 360 to generate a model for the garage and we were able to use AR to put it into the yard.
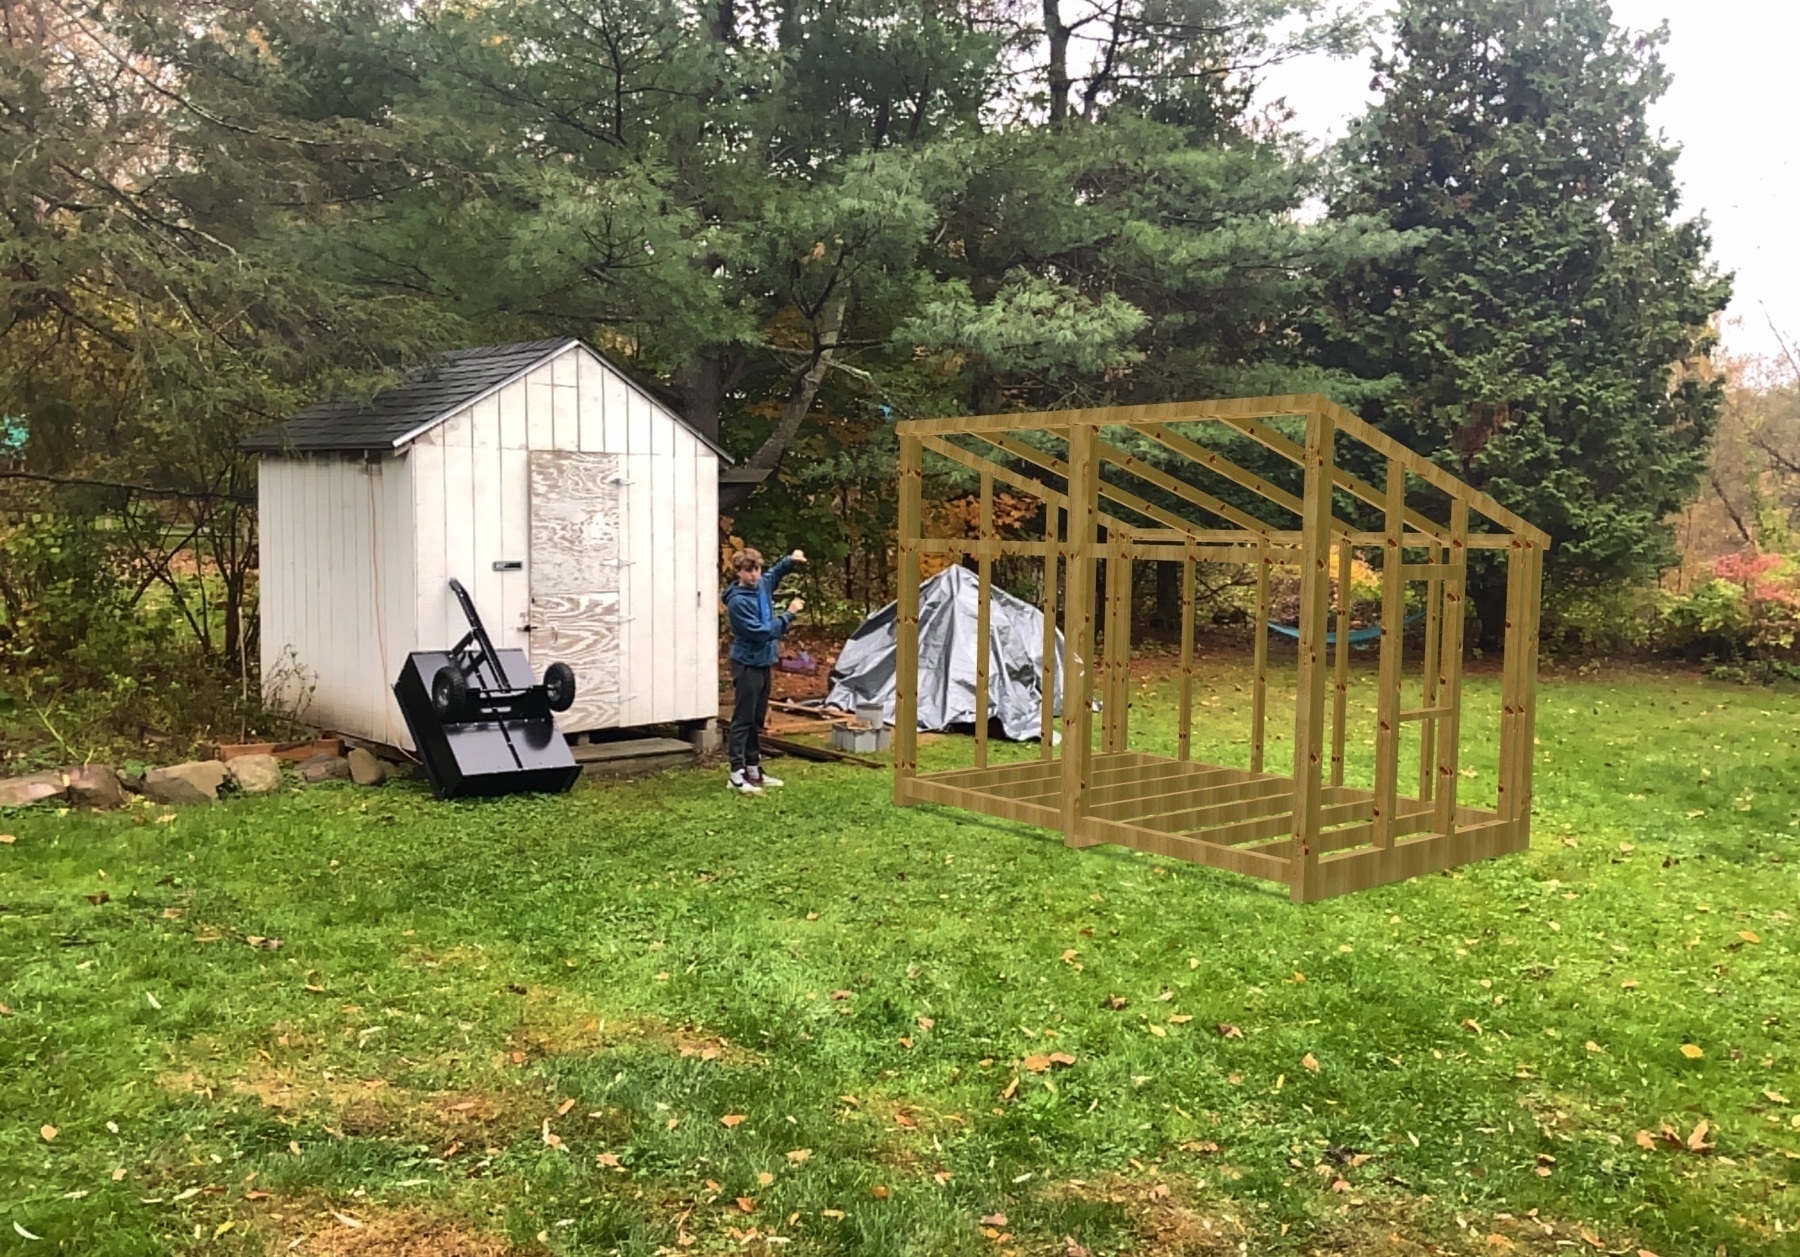
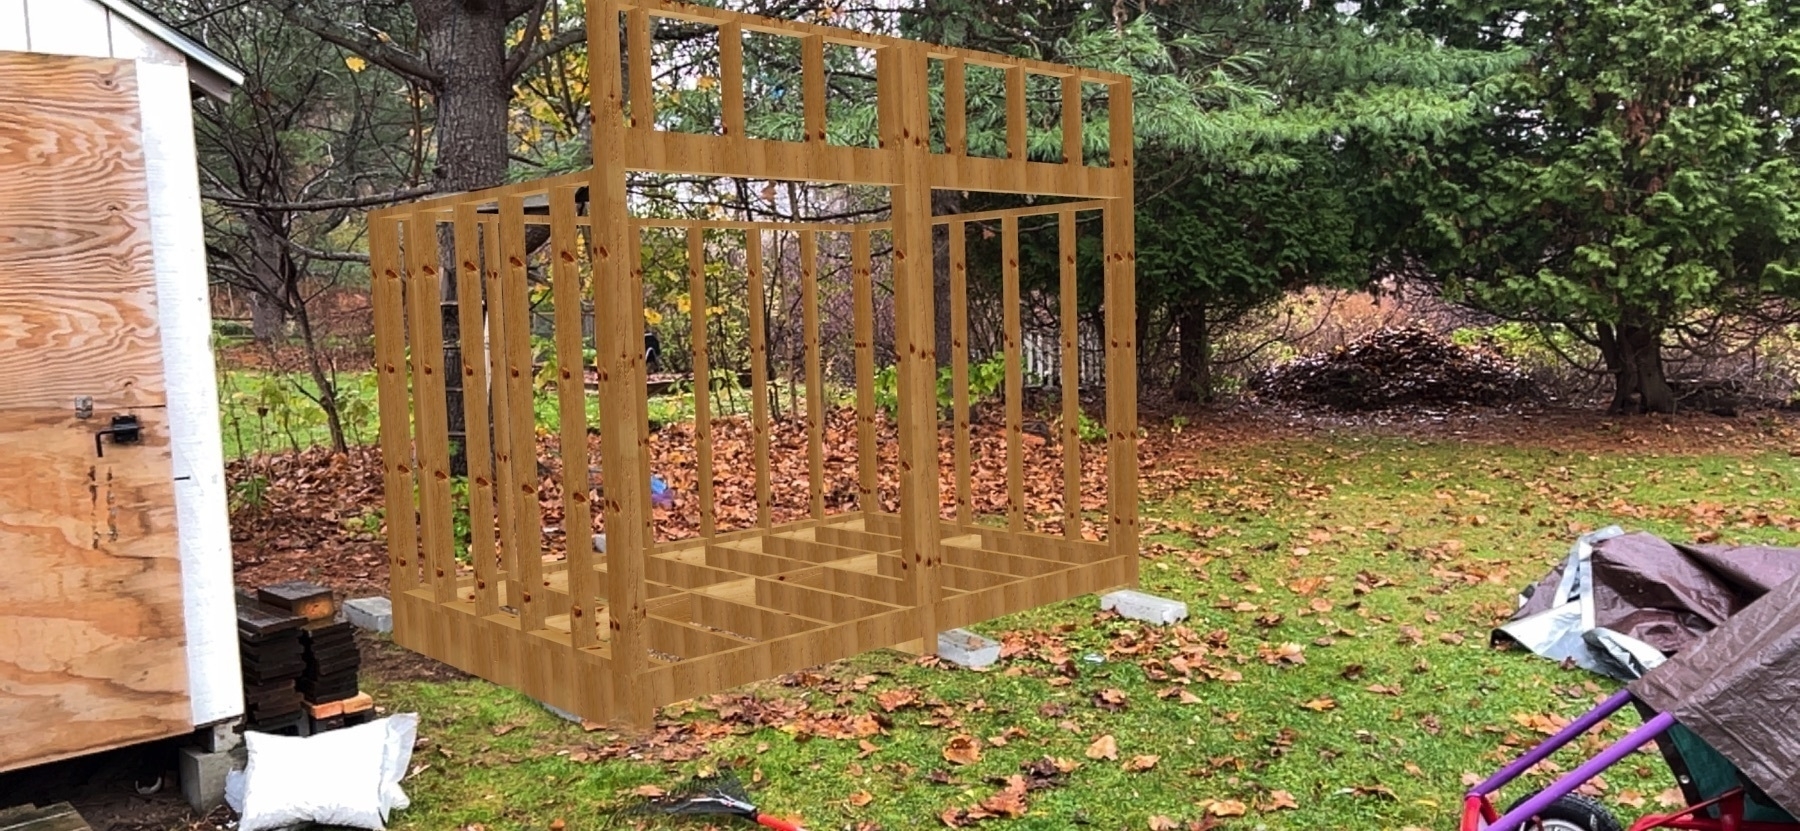
I was feeling pretty confident at the time and said, “Let’s do it!”. Over the next few weeks Kaleb took a deep dive into “How to build a shed” YouTube videos in order to learn more about the best way to build it. Here is one video that we referenced extensively, Building a Lean-To Shed
On Saturday, November 13th we made our first of many trips to Lowe’s to pick up the first materials. One big thing we learned during the prior two months was that my wife’s Kia Sorento could hold a lot of materials. Inside the car we could put a few 10 foot pieces of would, we could also put a bunch of 8 foot pieces right up the middle when the seats were down. Once or twice I did manage to put a 12 foot piece of wood out the passenger window, but later we learned that it was just easier to strap it to the roof rack.
Kaleb took on the first few tasks himself, that included putting down the footings for the platform as well as building the framing for the floor.
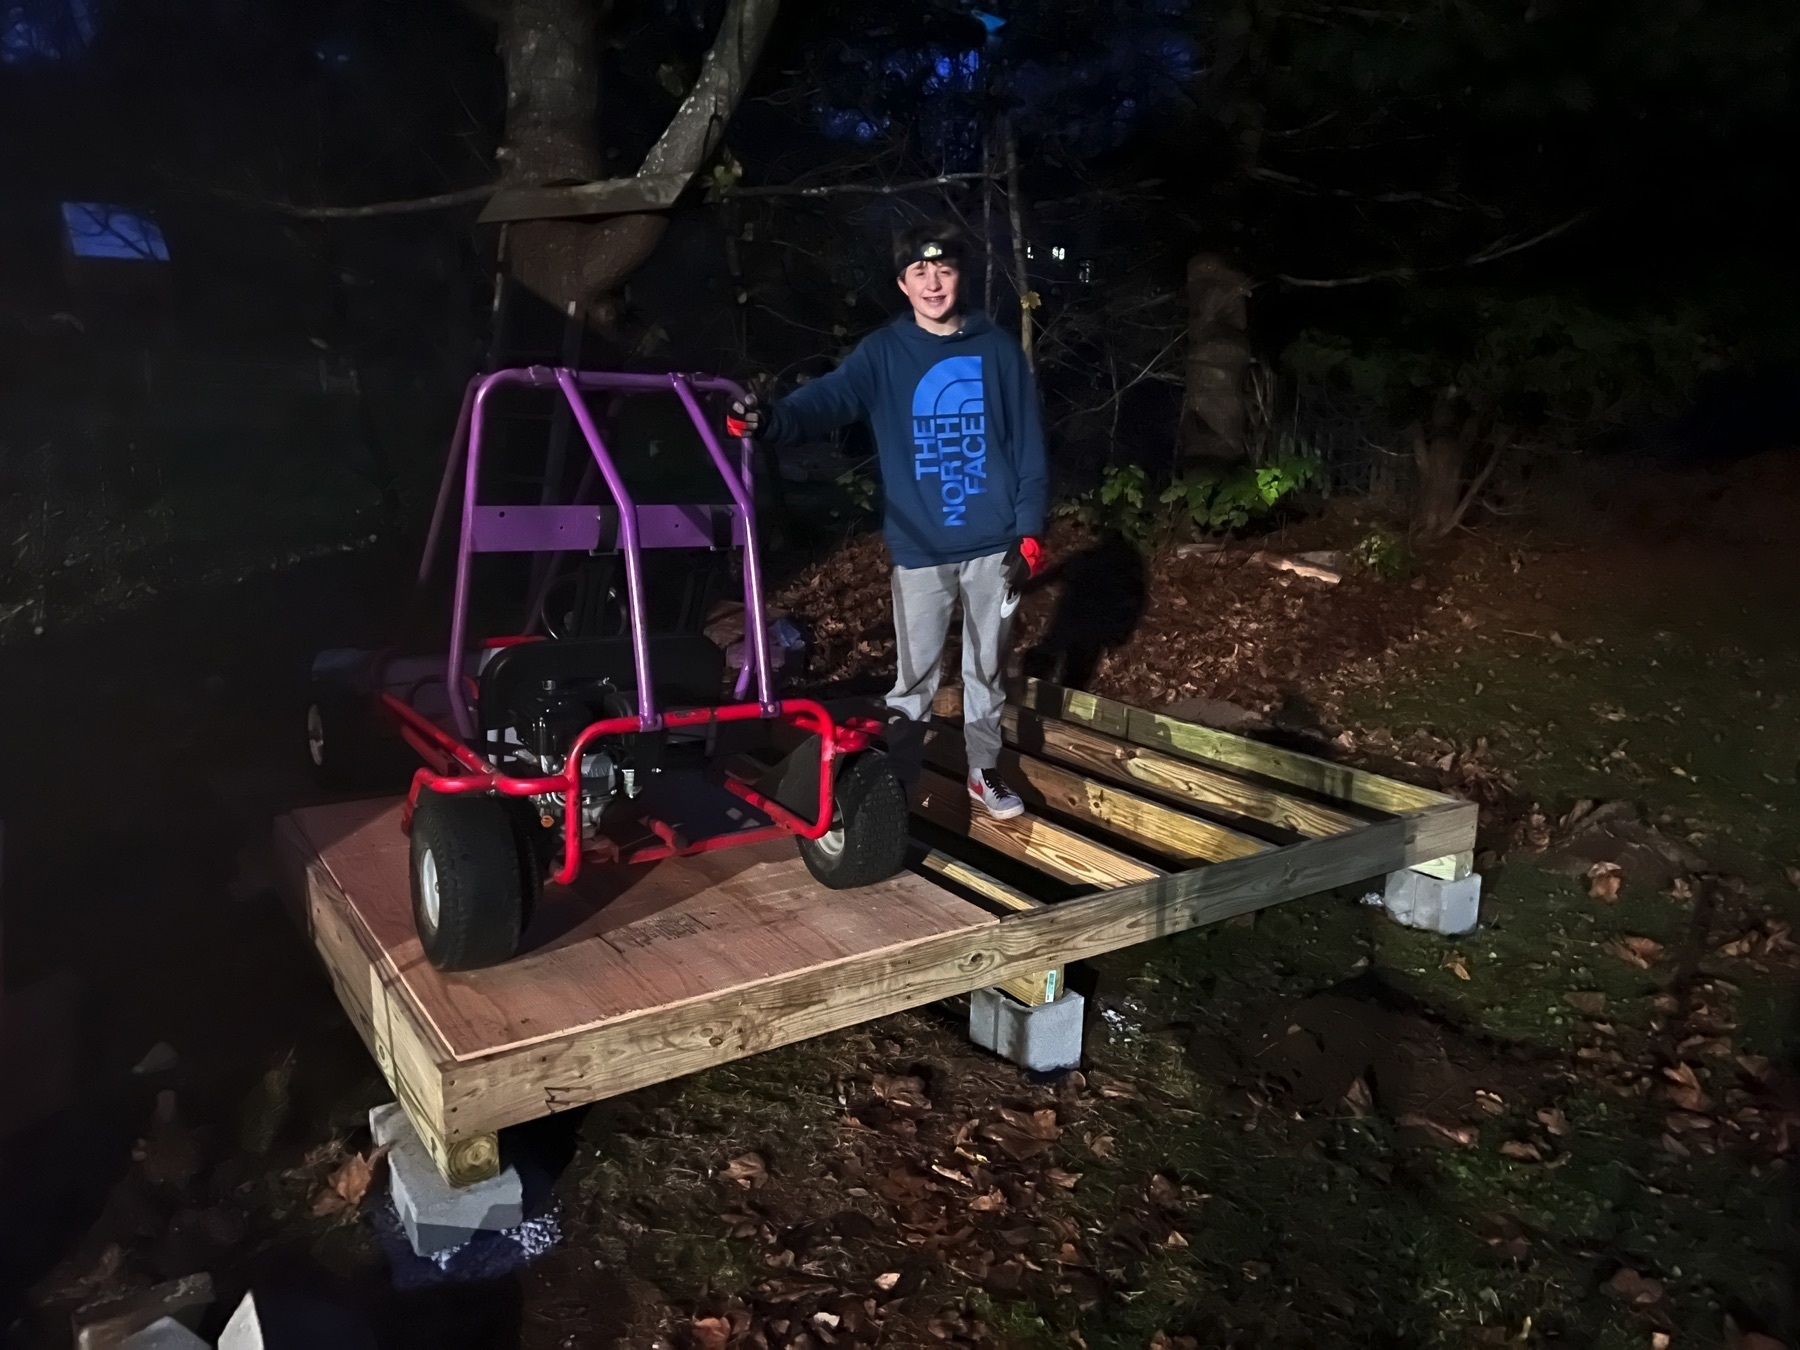
Next up was the framing of the sides and back, which went pretty smoothly and took a couple days to complete. After about a week the floor was complete and all four walls were framed.
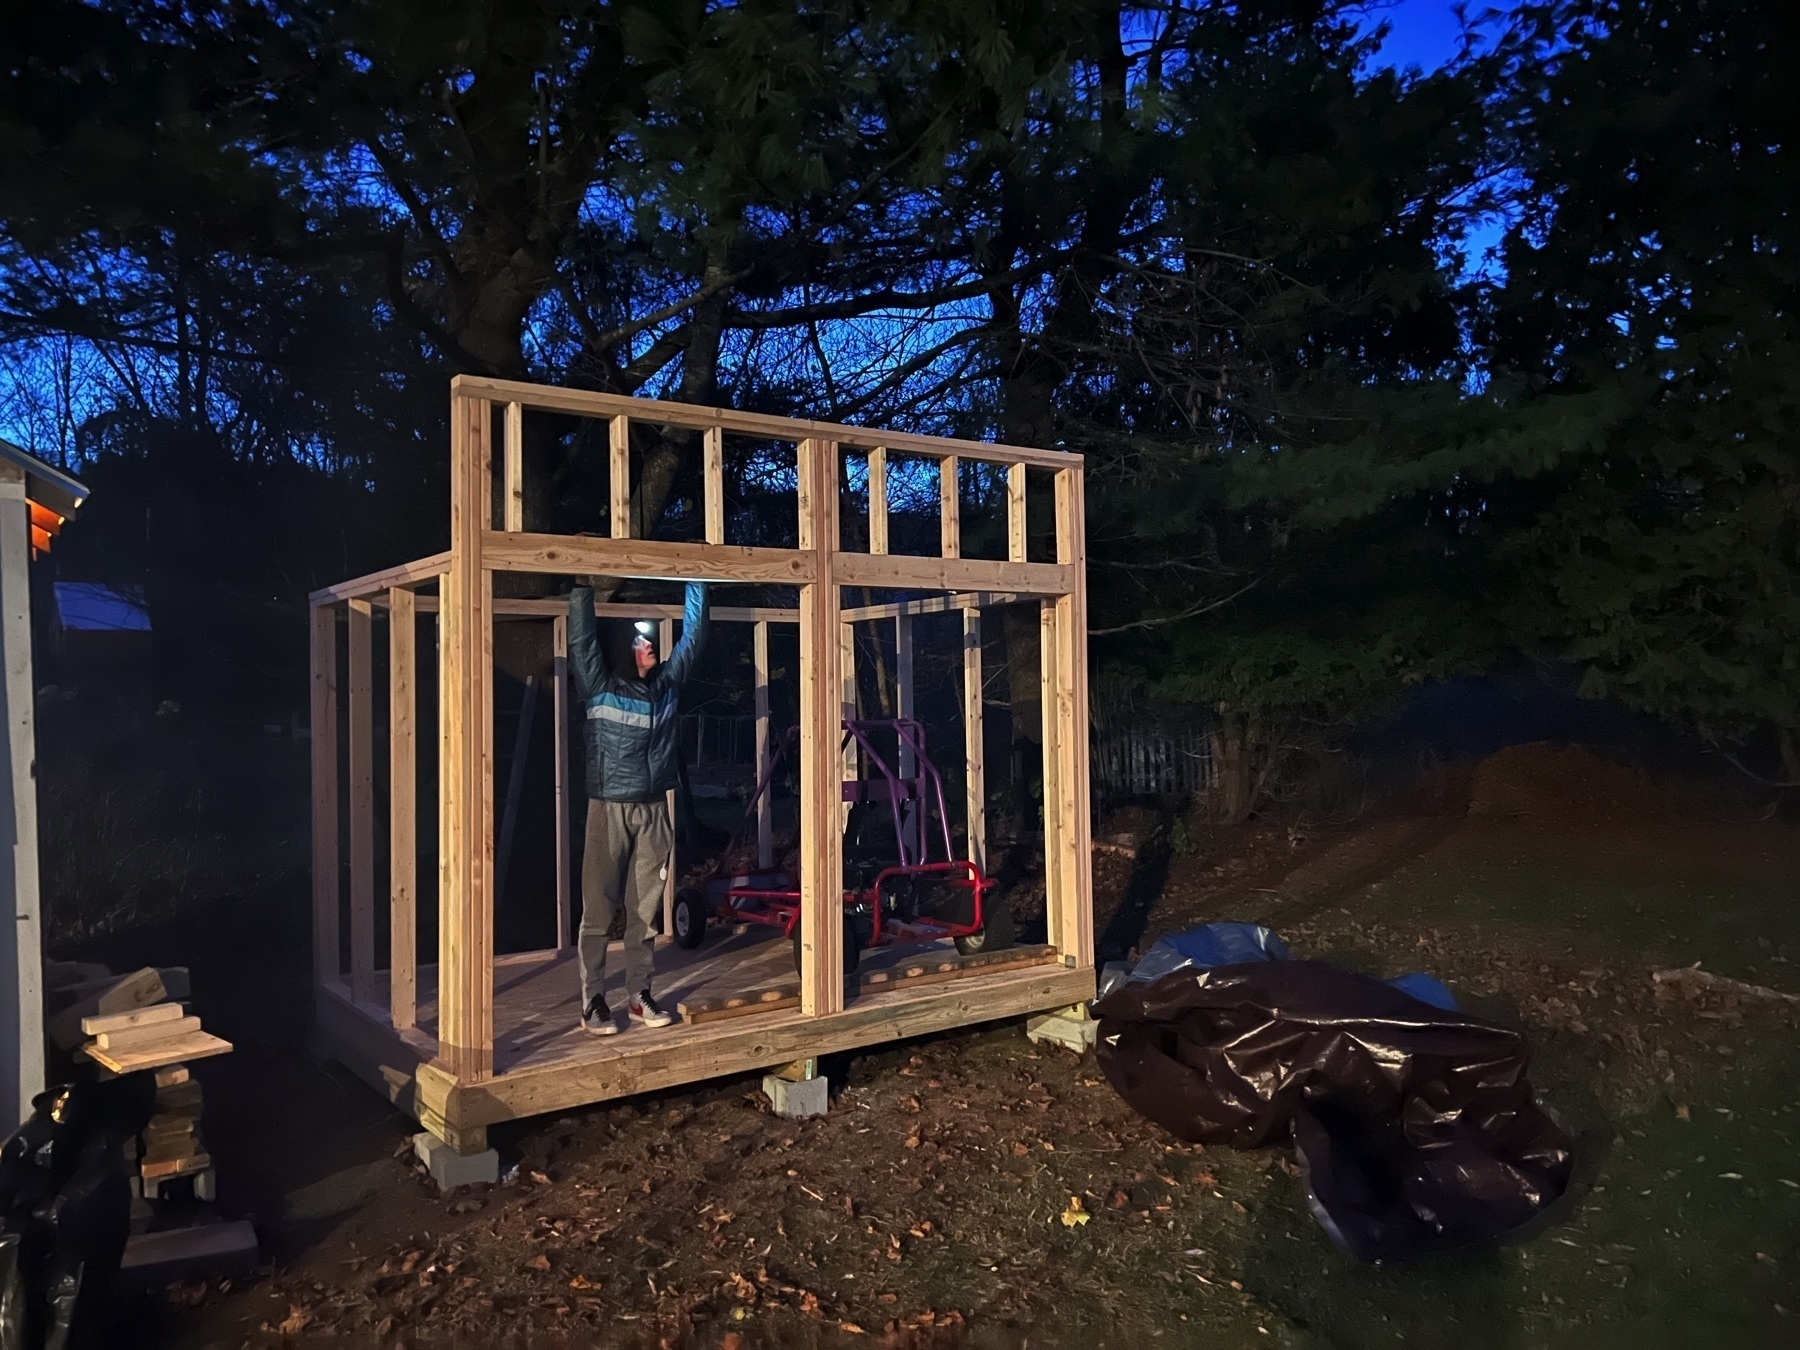
We had to take a break for Thanksgiving, but started back up in December with the framing of the roof and putting on the plywood.
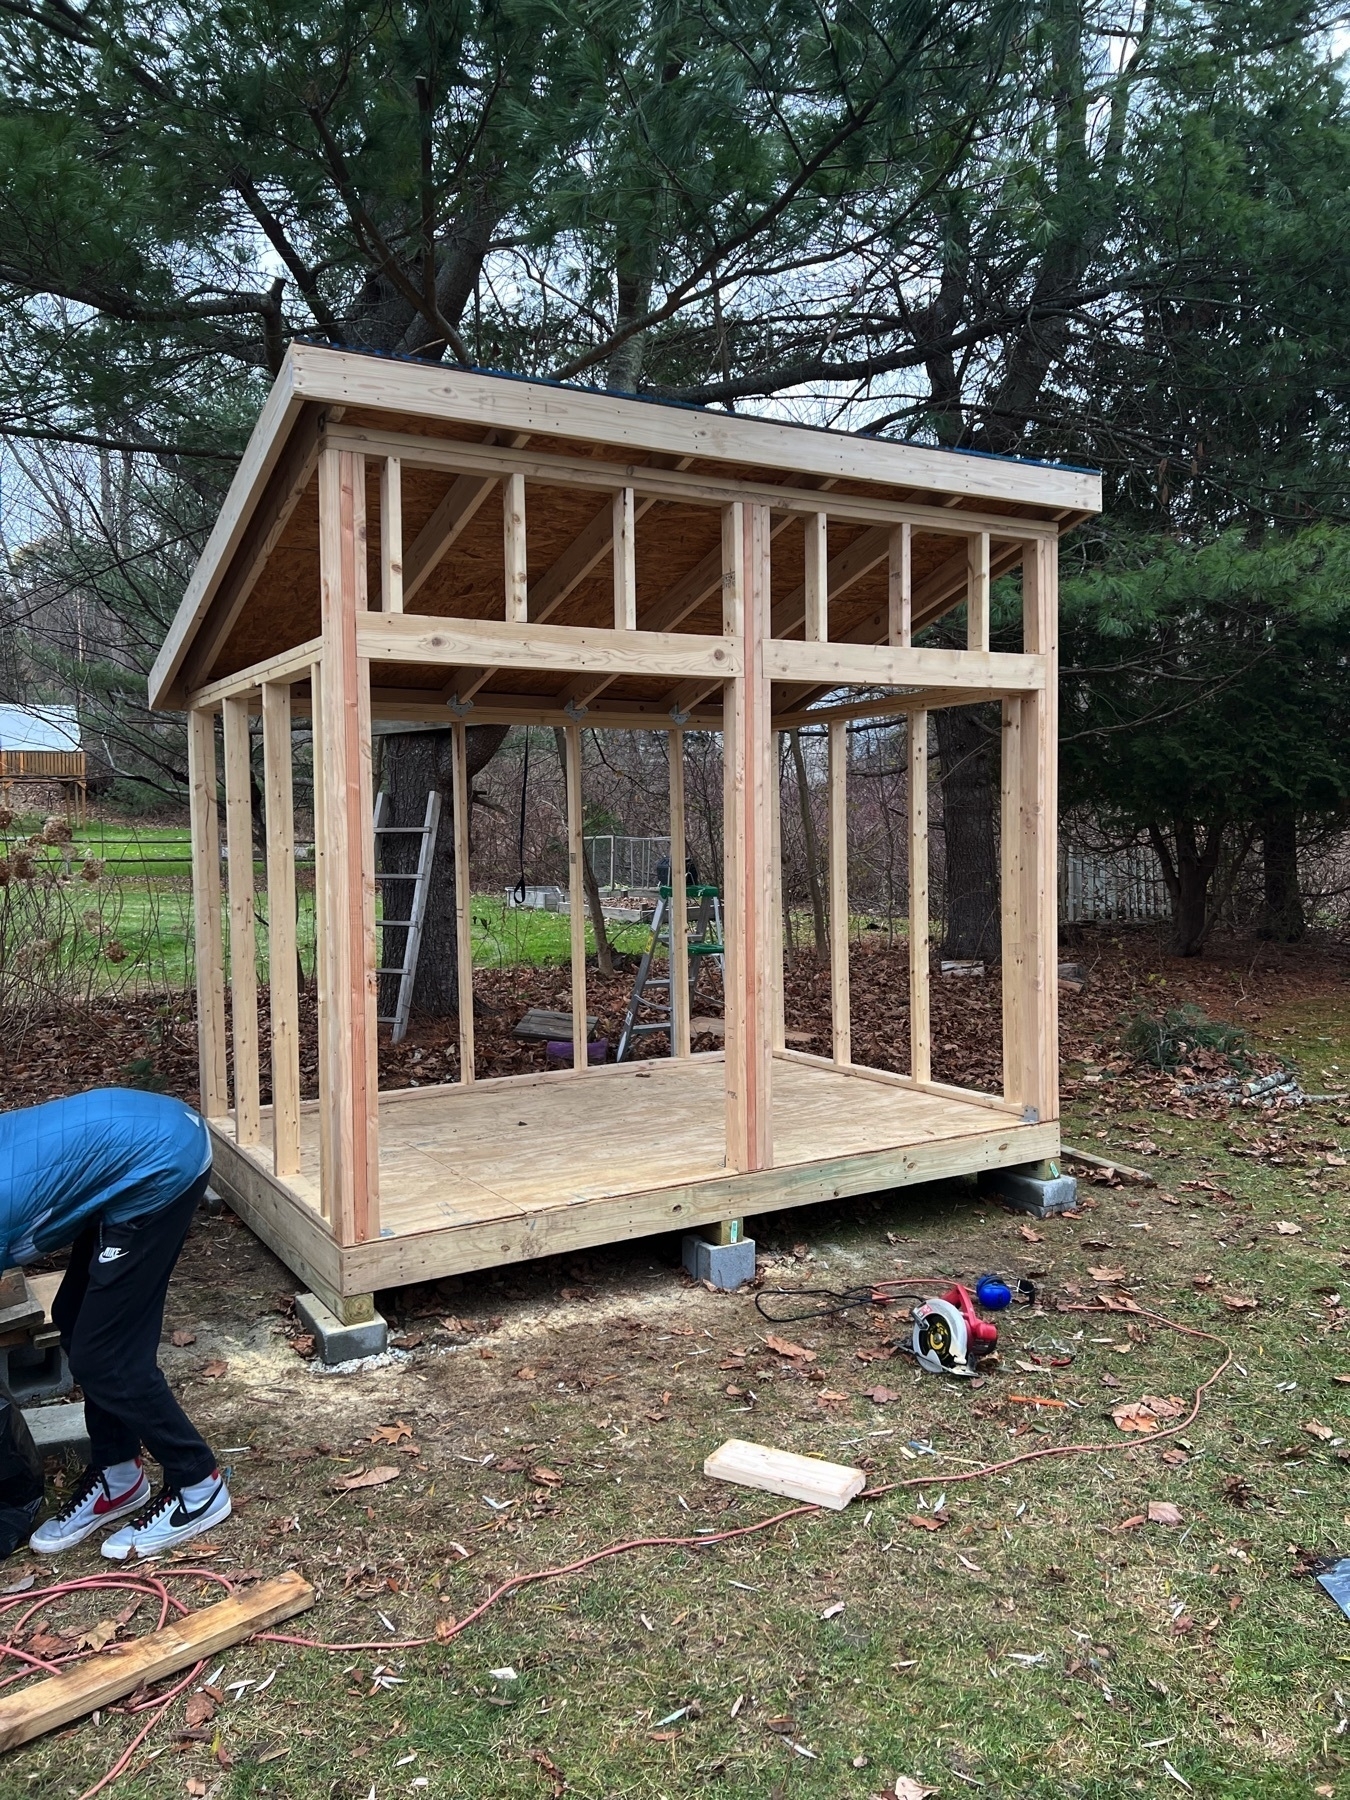
During the week we picked up the wood for the sides and spent a few days putting up the side, back and front walls.
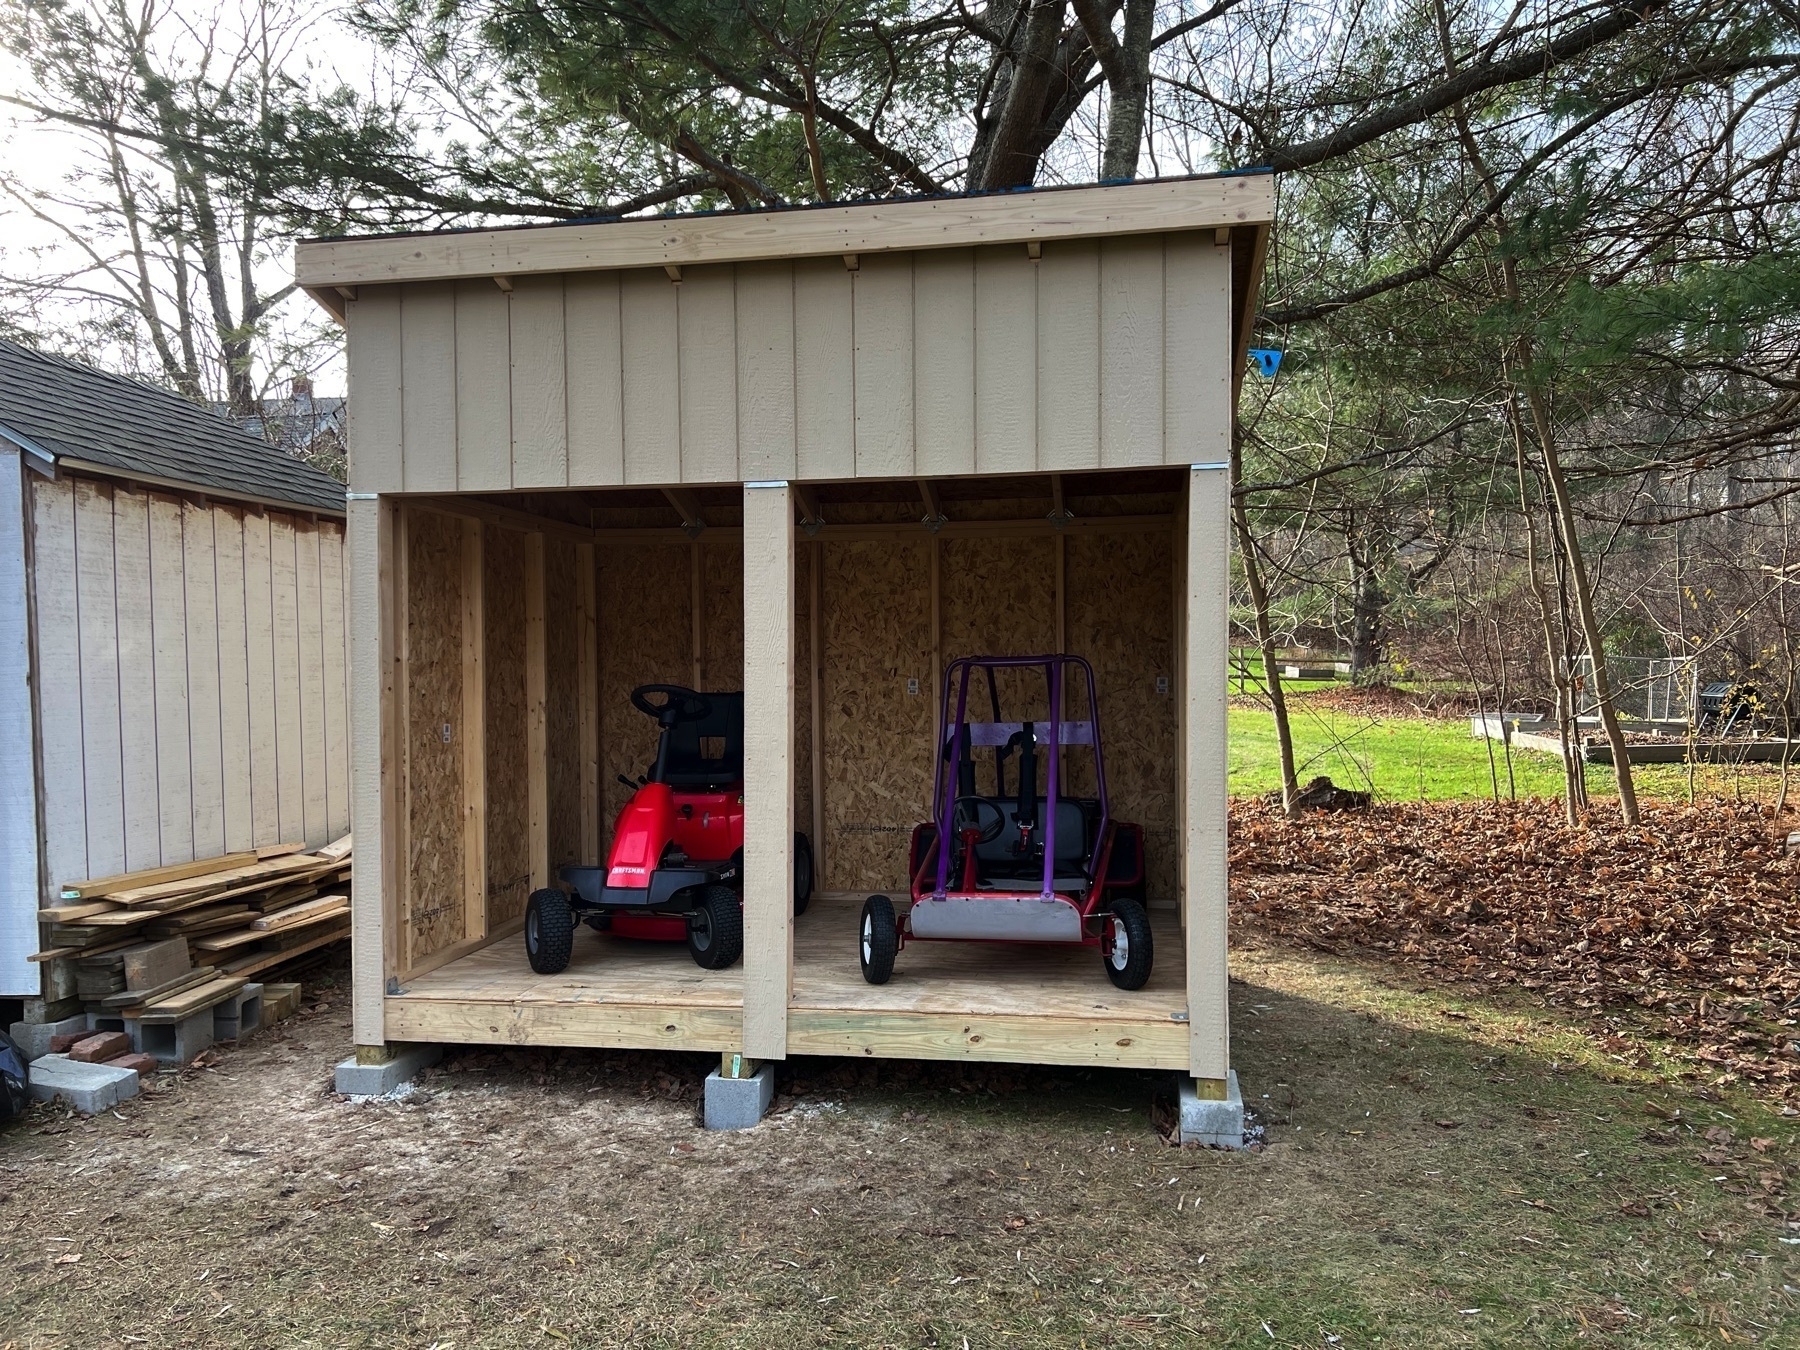
I was feeling really good at this point because most of the structure was now sealed in from the outside, even though we had to use a tarp on the roof and the big front doors. Next up was an unexpectedly tricky part the doors. After framing the first door and putting it in place we learned that things weren’t as square as we hoped. We made a few adjustments and managed to get the first door up and it actually opened and closed just fine. The next door was a little easier and we eventually were able to get all four doors on after several different sessions working in freezing cold December evenings.
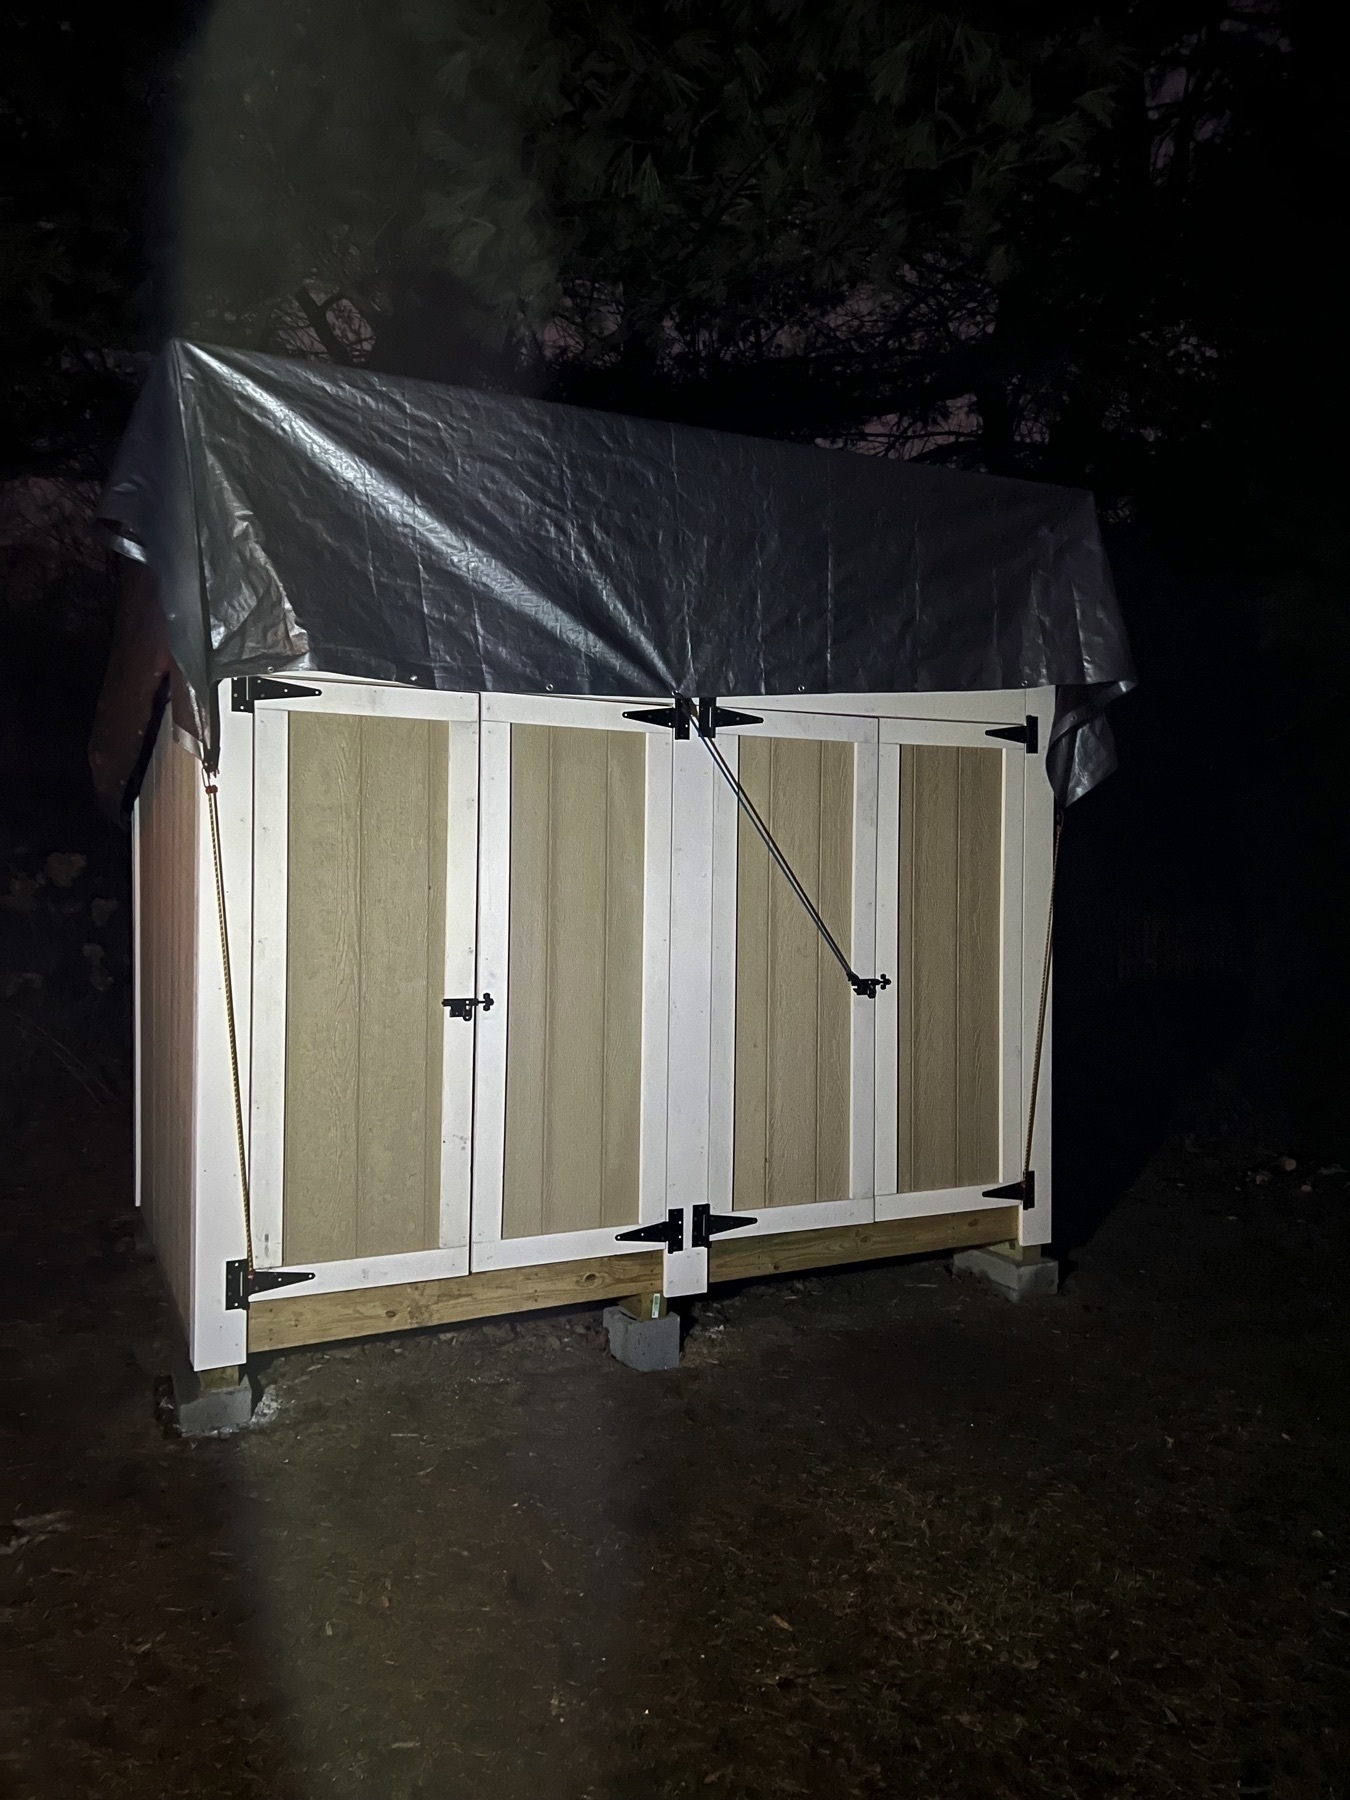
At this point it was mid-December and I really wanted to get the roof done, before it got much colder and ski season started. We tried to make one more push before Christmas, but bought the wrong size trim and had to put things on hold until after the holiday. Thankfully when we came back from skiing the temperature soared into the 50s and we were able to put in a solid day on the roof. We couldn’t have done it without this video, How to Build a Lean-To Shed Part 7 - Roofing Install
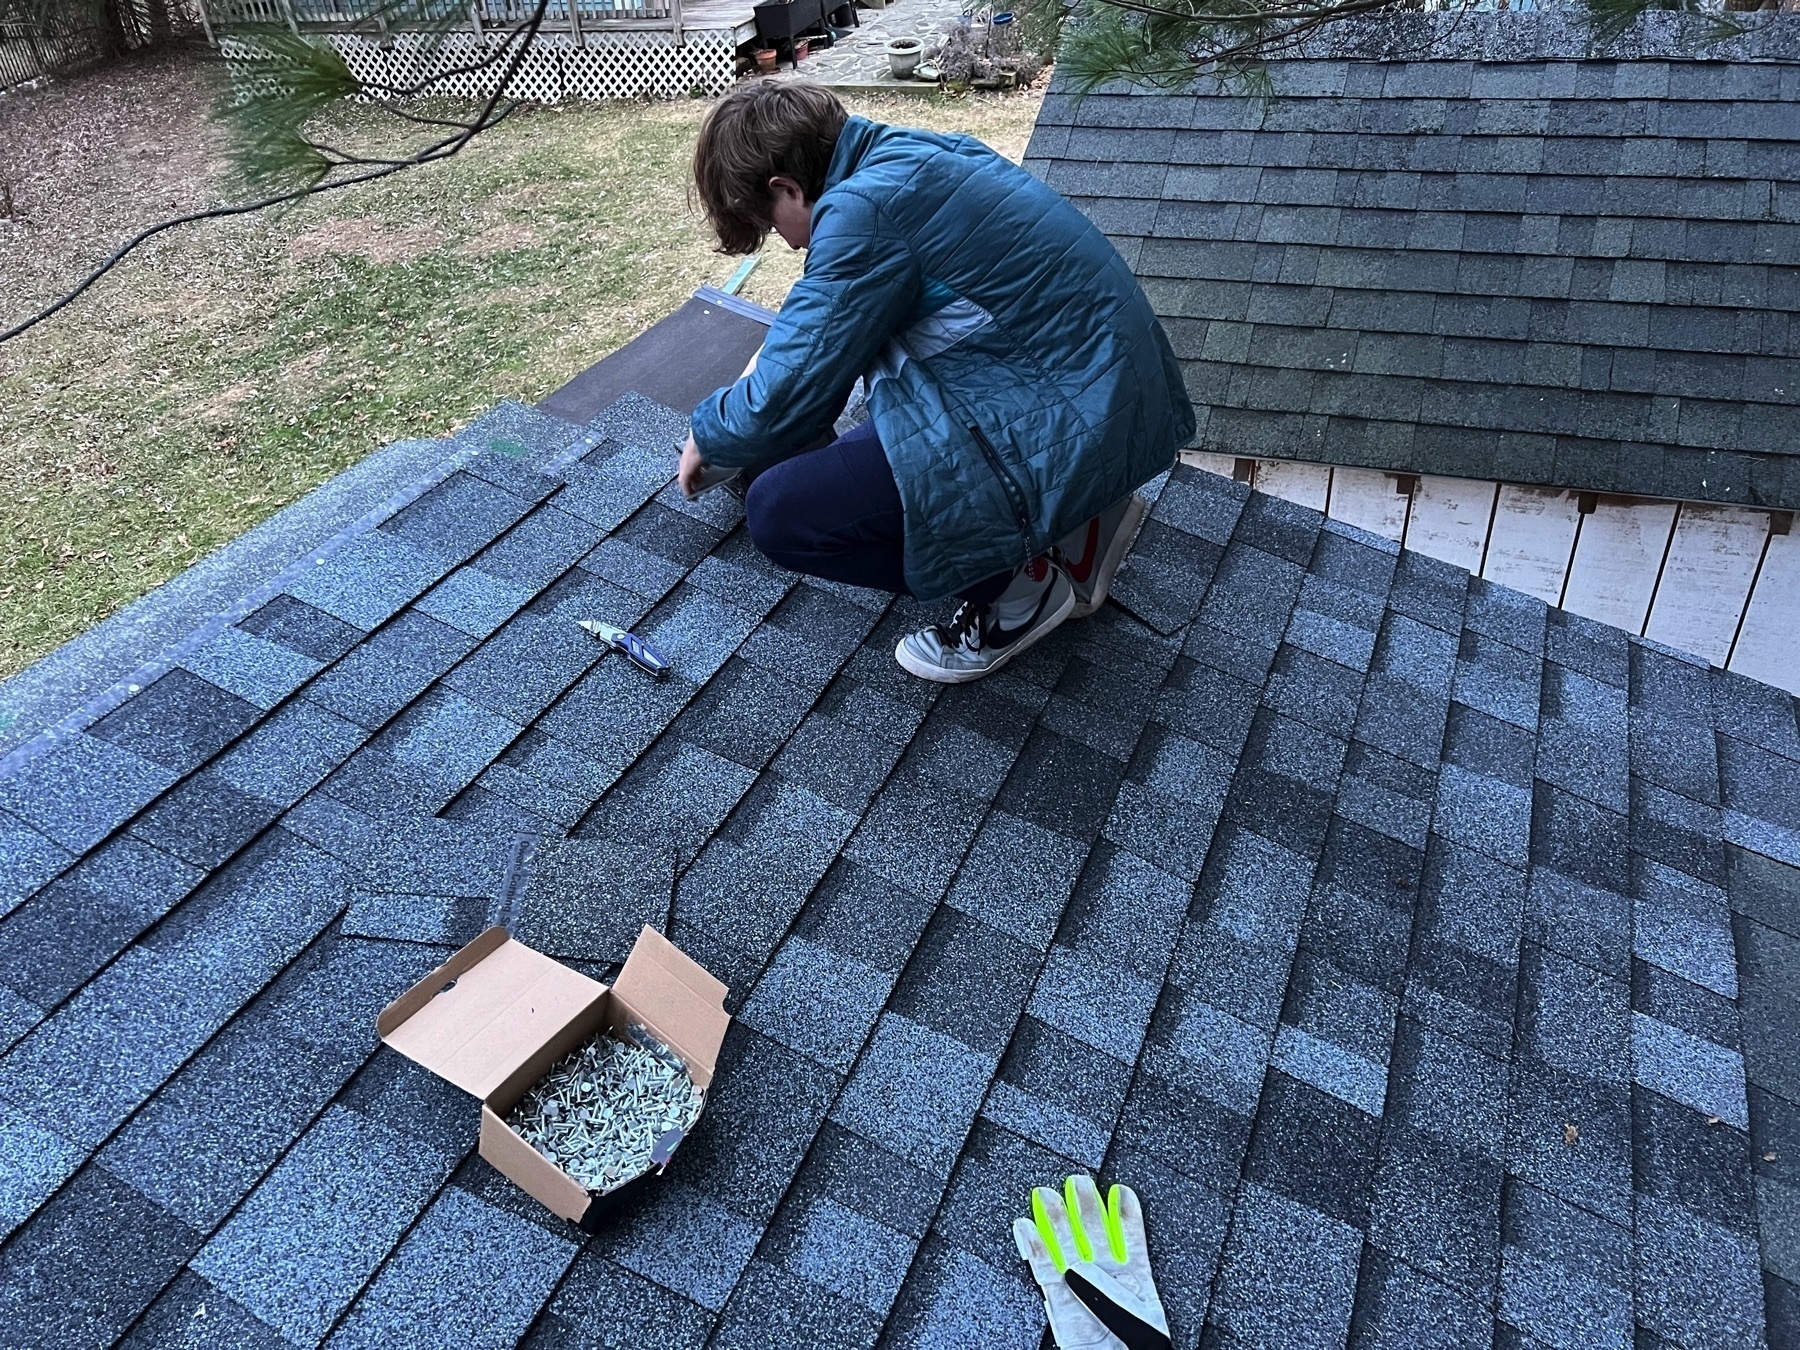
We put in the last nail at about 5pm on December 30th, about 47 days after we started. We worked on 17 different days (as far as I could tell) and it turned out really well. The total cost of materials was $2,278.82.
